The Best 1/4-Inch Wood for Laser Engraving and Cutting
If you're looking for the best 1/4 inch wood for laser engraving, the honest answer is: it depends on what you're making. Quarter-inch wood is the thickness most laser engravers default to — it's thick enough to hold its shape, thin enough to cut through without fighting the machine, and available everywhere in the species that matter. But not all of it behaves the same way under a laser beam.
After researching how basswood, plywood, MDF, cherry, and balsa behave under a diode laser — going through maker forums, hands-on tests from the community, and manufacturer data — one thing is clear: each wood has a well-defined sweet spot, and a few situations where it'll quietly let you down. This guide pulls it all together so you know what you're buying before you order a stack of blanks.
Before we start: "1/4 inch" is approximately 6mm. If you're ordering in metric, look for 6mm sheets. Some suppliers label it slightly differently (5.5mm, 6.5mm) — either will work fine for most laser setups.
Basswood: The Obvious Starting Point
Basswood is what most laser engravers reach for first — and there's a good reason for that. It's soft, consistent, and almost forgiving of beginners' mistakes with settings. The grain is fine and tight, which means the laser cuts through it cleanly without the grain pulling in different directions. The result is crisp edges and a light, natural contrast that makes engraved details pop without looking heavy or over-burned.
For jewelry, ornaments, keychains, small signs, and gift tags — basswood is the default choice. It's inexpensive, comes pre-cut in standard sizes, and you'll go through a lot of it.
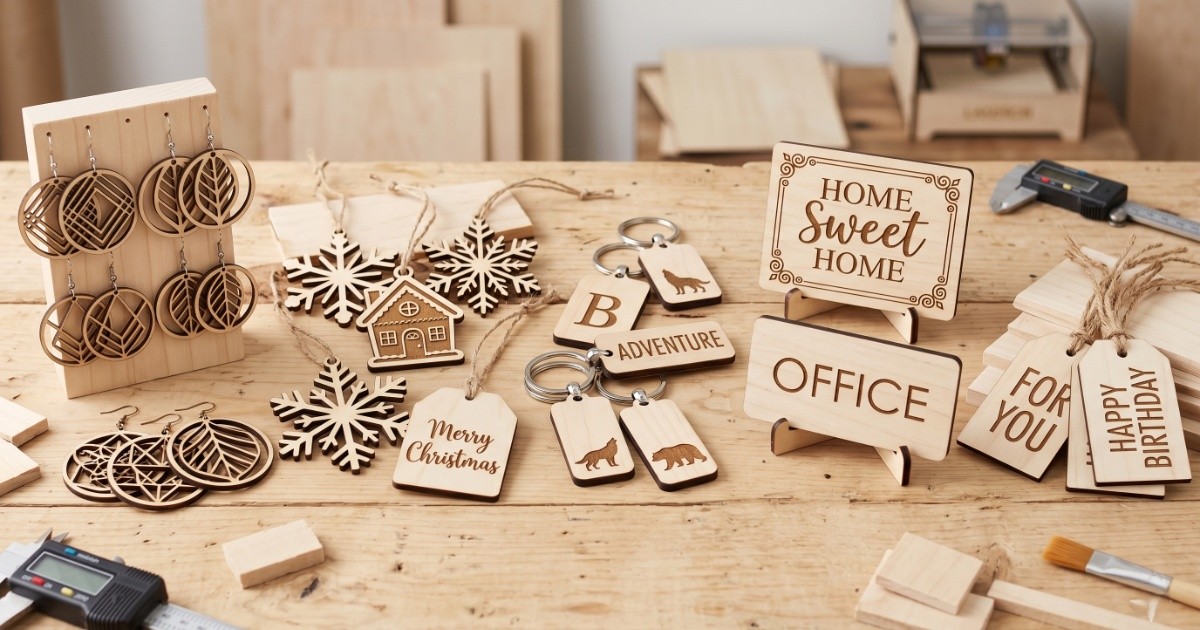
Works well for: ornaments & gift tags, jewelry & keychains, small signs & labels, photo engraving, and first-time projects. Limitations: the soft surface dents and scratches easily, it's not suited for structural pieces like boxes, and knots in cheap packs can ruin a cut mid-job. The pale color gives lighter-toned engravings — more subtle than cherry, but clearly visible. Your laser will cut through it without a fight — edges come out clean with almost no scorching. The easiest wood on this list to start with.
Buying tip: Spend a little more for craft-grade basswood from a dedicated laser supplier. Cheap craft store packs often have hidden knots that will cause your laser to skip or stall mid-cut — ruining the whole piece. Quality blanks are worth it.
Note: Basswood is botanically classified as a hardwood — but don't let that mislead you. It's physically one of the softest woods you'll work with. That's great for the laser, but it means finished pieces dent and scratch under normal handling. For anything that needs to bear weight or survive daily use, use Baltic birch plywood instead.
Shop Basswood Sheets on AmazonBaltic Birch Plywood: The Production Workhorse
If basswood is for small, delicate pieces, Baltic birch plywood is for anything that needs to hold its shape. Boxes, trays, organizers, wall art panels, puzzle pieces — anything structural goes to plywood. The layers are glued at alternating angles — that's what stops it from warping or twisting, something solid wood can't always guarantee. A well-cut piece will sit flat on a table without any coaxing.
Engraving on Baltic birch looks good but different from basswood. The surface grain is more pronounced, which gives engraved areas a slightly more textured appearance. For bold text and graphic designs, that's fine — actually nice. For fine photo engraving, basswood or cherry will give you cleaner results.
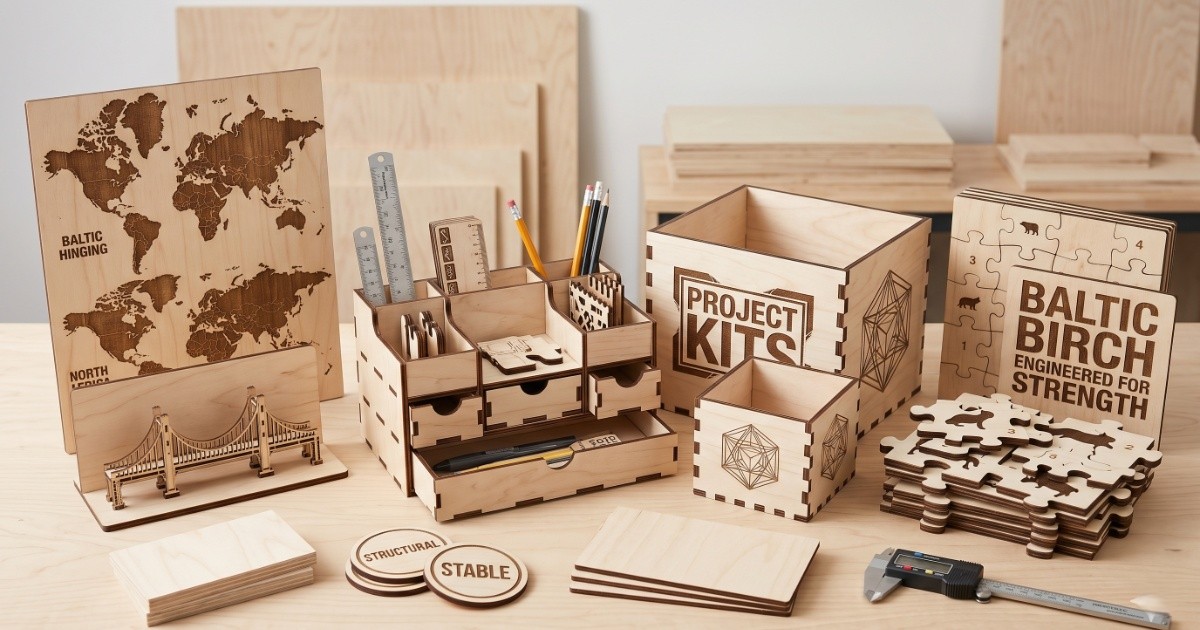
Works well for: boxes & organizers, wall art panels, puzzle pieces, trays & serving boards, and structural decorative items. Limitations: the glue layers can cause inconsistent cuts, internal voids can ruin expensive pieces, and the cut edges come out darker than basswood and need a light sand. It needs more laser time to cut through than basswood — but nothing you can't handle.
Only buy Baltic birch or "void-free" plywood. Standard construction plywood looks the same in photos but is a completely different product — full of internal voids (empty gaps between layers) that the laser will hit mid-cut, causing the piece to break or the cut to fail. Spend the extra money on the real thing.
The glue matters as much as the wood. Hardware store plywood is often bonded with a weatherproof outdoor glue — the kind designed to survive rain and heat. That glue fights the laser beam instead of burning cleanly through it. The result: black, sooty edges, gaps in the cut, and layers that refuse to separate. What you want is plywood made with interior-grade adhesive, sold as "laser-safe," "laser-grade," or "void-free." It cuts cleaner, the edges stay light, and the layers separate without a fight. If the supplier doesn't say what glue they used, assume it won't cut well.
Hidden knot warning: Even in quality plywood, internal knots can hide between layers — invisible from the outside. When your laser hits one, it won't cut through. Always keep a sharp craft knife nearby. If a piece doesn't drop free after cutting, don't force it — run the laser over the stuck area once more, then use the knife to free it. Forcing it tears the surface.
Shop Baltic Birch Plywood on AmazonMDF: The Smoothest Cut, With a Catch
MDF (medium-density fiberboard) cuts so cleanly it almost feels like cheating. No grain, no knots, no variability — the laser moves through it in one clean pass and the edge comes out perfectly smooth. If you've ever struggled with inconsistent cuts on real wood, MDF will feel like a different world.
Here's the problem: MDF is made by pressing wood dust and fibers together with adhesives that contain formaldehyde — a chemical that's harmless when locked inside the board, but releases toxic fumes the moment a laser burns through it. It needs serious ventilation — more than you'd need for basswood or plywood. If your workspace can handle it, MDF is excellent for painted projects, signs, and anything that will be finished. If you're working in a small room without good extraction, skip it.
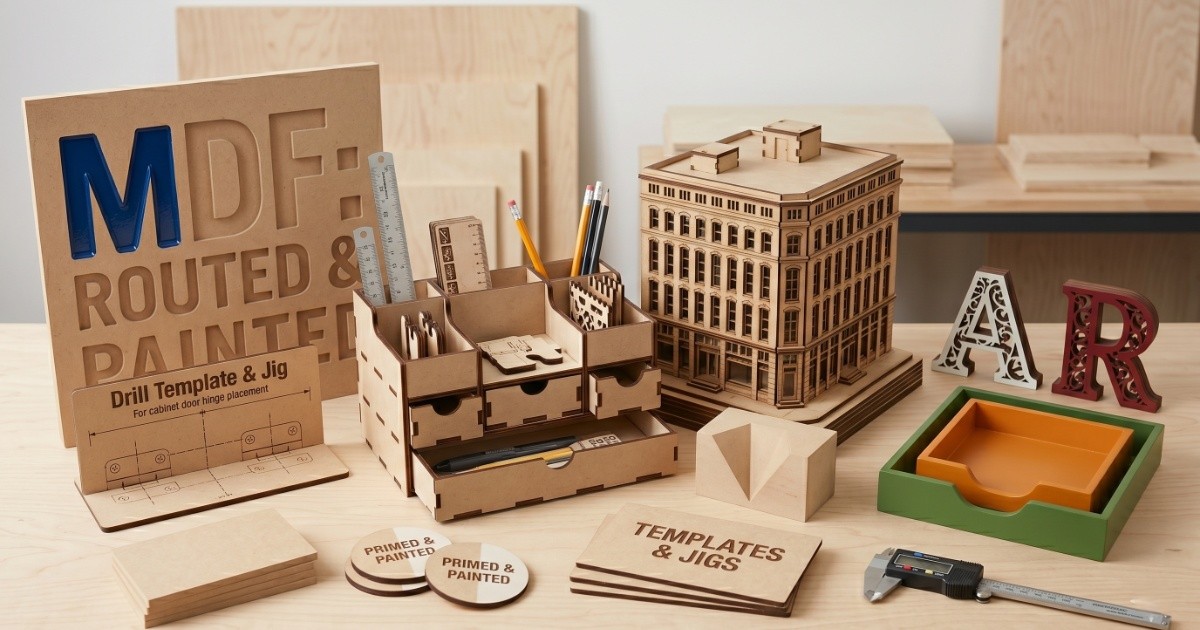
Works well for: painted signs & lettering, architectural models, templates & jigs, and any pieces that will be painted or primed. Limitations: the fumes it produces are genuinely toxic and require real ventilation, it swells and warps if it gets wet, the cut edges look raw and are hard to make look nice, it's never food-safe, and it's heavier than real wood. The cutting itself is easy — edges come out smooth with almost no scorching. The only catch is the fumes.
Ventilation is not optional with MDF. The fumes released when cutting MDF are genuinely harmful with repeated exposure. Run exhaust ventilation, use an air purifier with a HEPA + activated carbon filter, and don't sit next to the machine while it's cutting. This isn't excessive caution — it's the standard advice from anyone who's worked with it seriously.
One rule that applies to every material, not just MDF: if you don't know what's in it, don't cut it. Pressure-treated wood — the kind sold for decking and fences — releases toxic heavy metals when burned; older wood can contain arsenic. Old painted surfaces can contain lead. Plastics release gases your exhaust fan cannot handle: PVC releases hydrogen chloride, ABS releases hydrogen cyanide — both destroy your lungs and your laser optics. When in doubt, don't.
Shop MDF Sheets on AmazonCherry: When You Want Something That Looks Premium
Cherry wood under a laser is something else. The natural color is a warm reddish-brown, and when the laser engraves into it, you get a deep contrast that basswood simply can't match. The result looks expensive in a way that's hard to replicate — which is exactly why cherry is the right choice for premium gifts, high-value Etsy items, and anything meant to be displayed rather than just used.
It's denser than basswood, so you'll need more power or an extra pass to cut through it cleanly. The settings that work for basswood won't transfer directly — expect to dial things in with a test cut first. The payoff is worth it: clean edges, beautiful grain that shows through the engraving, and a finished look that justifies a higher price tag.
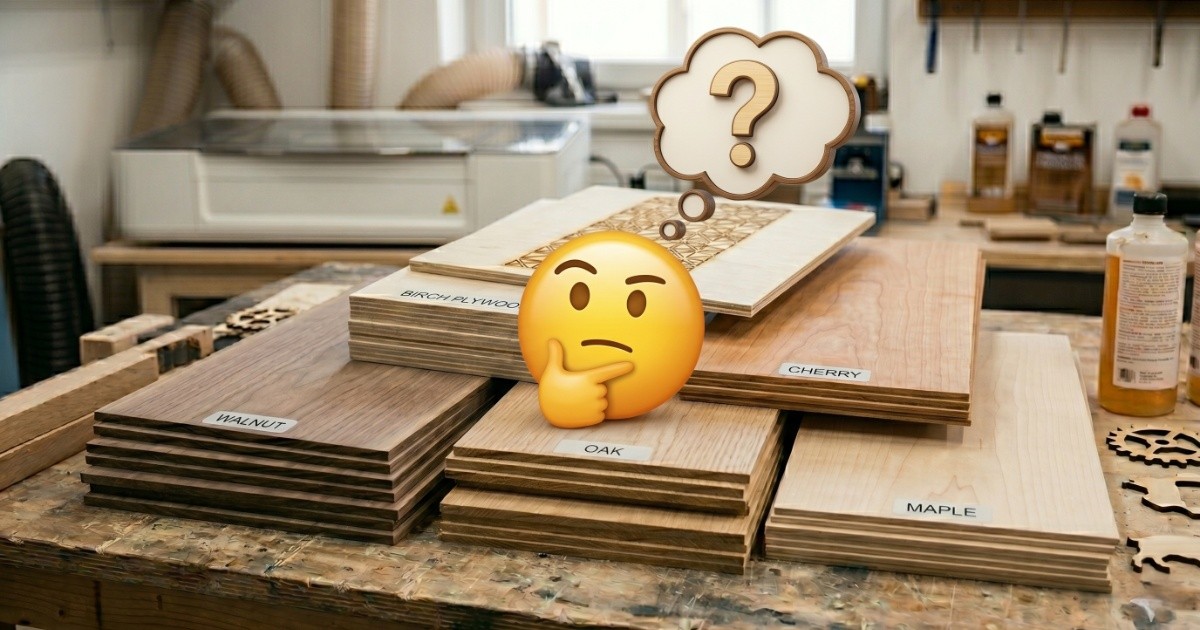
Two other hardwoods worth knowing about: Walnut is naturally very dark, which means engraving can look faint or nearly invisible if your depth isn't right — you need to go deeper than you would on cherry or basswood to get visible contrast. Maple is the opposite problem — it's the hardest wood on this list and the laser has to work noticeably harder to get through it compared to cherry, basswood, or plywood. Both are beautiful materials, but neither is beginner-friendly.
Works well for: premium gift items, jewelry & accessories, food-safe cutting boards, high-value Etsy listings, and displayed keepsakes. Limitations: more expensive per sheet, needs more laser time than basswood, and the grain variation means results can look slightly different from piece to piece. Not the right choice if you're just testing a design.
Balsa: Fast and Light — But Know Its Place
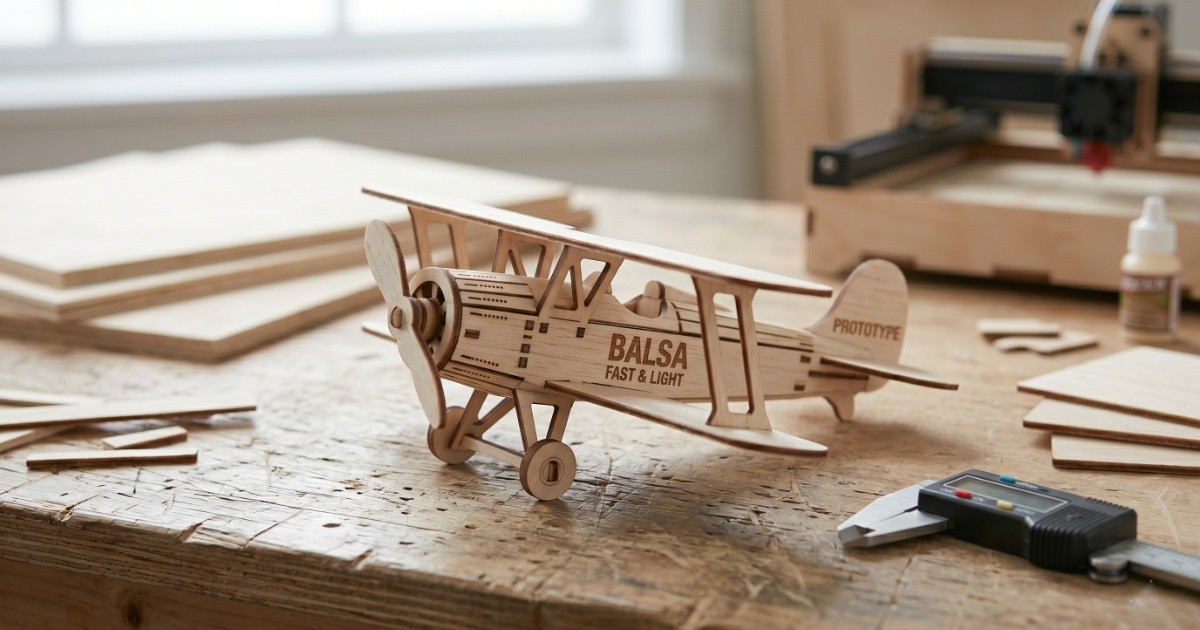
Balsa is the outlier on this list. It cuts faster and with less power than any other wood — almost no resistance, almost no char. If your machine struggles with thicker materials, balsa will feel effortless. But that softness is also its weakness: balsa dents if you look at it wrong, doesn't hold fine detail well on the surface, and won't survive anything that involves handling or wear.
Where balsa earns its place is in prototyping. If you're working out a new design and want to test the layout, scale, and proportions before cutting into expensive cherry or walnut, balsa lets you iterate cheaply and quickly. It's also useful for scale models and architectural mockups where light weight matters more than durability.
Works well for: prototyping designs, scale models, kids' craft projects, and cheaply testing settings before committing to expensive wood. Limitations: too fragile for gift items, dents and breaks easily, not appropriate for selling or gifting. Cuts faster than anything else on this list — almost no resistance, almost no scorching. Great for running a quick test before committing to expensive material.
Shop Balsa Wood Sheets on AmazonThree Things That Make or Break a 6mm Cut
These aren't optional extras. If you're cutting 1/4" (6mm) wood regularly, these three habits will separate clean results from frustrating failures:
1 — Air assist is not optional at 6mm. At 6mm, the laser spends more time in the cut than at 3mm. Without air assist blowing the flame and smoke out of the cut, the wood scorches on the edges instead of cutting cleanly — you get a dark, crumbly edge instead of a clean light one. Most modern diode lasers have air assist built in or available as an add-on. Turn it on. Always.
2 — Mask the surface before cutting. When the laser cuts through 6mm wood, smoke and soot rise from the cut and settle on the surrounding surface — leaving dark hazing around your cut lines. The fix is simple: cover the entire surface with paper masking tape before you run the job. The laser cuts through the tape cleanly, and when you peel it off, the wood underneath is pristine. It adds 60 seconds to setup and saves you 10 minutes of sanding.
3 — Always have a craft knife nearby. Even with perfect settings, an internal knot or a dense grain pocket can stop the laser from cutting all the way through. Don't crank the power up for another attempt — you'll scorch the surface. Instead, run one additional pass at the same settings over just the stuck area, then use a sharp craft knife to gently free the piece. Forcing it by hand tears the surface fibers and ruins the piece.
Quick Comparison — At a Glance
Here's the best wood thickness for laser engraving across all five species, side by side. All assume 1/4" (6mm) stock on a 40W diode laser:
| Wood | Cut Quality | Engraving Contrast | Price | Best Use |
|---|---|---|---|---|
| Basswood | Excellent | Subtle (light) | Low | Ornaments, jewelry, beginners |
| Baltic Birch | Very good | Good | Low–Medium | Boxes, trays, structural pieces |
| MDF | Excellent | Flat (no grain) | Very low | Painted signs, templates |
| Cherry | Very good | High (warm tones) | Higher | Premium gifts, displayed items |
| Balsa | Excellent | Good (light) | Low | Prototyping only |
So Which Should a Beginner Buy First?
Start with basswood. Not because it's the best wood in every situation — it isn't — but because it's the most forgiving, the most consistent, and the one that will teach you the most about how your laser actually behaves without burning through expensive material while you're figuring out settings.
Order a pack of 1/4" basswood sheets, run your first few cuts, and get comfortable with what clean edges and good engraving depth look like on your specific machine. Once you know how your laser performs on basswood, adjusting for Baltic birch or cherry becomes a small tweak rather than starting from scratch.
From there, add Baltic birch plywood when you want to make something structural, and upgrade to cherry when you're ready to charge more for what you make. MDF belongs in the mix only when you have proper ventilation sorted. Balsa is always useful to have around for prototyping — just never for a final product.
One more thing: 1/4" is a good default thickness, but it's not the only game in town. If your projects are mostly engraving without cutting, you can go thicker for a more substantial feel. If you're cutting a lot of intricate shapes with tight curves, 3mm (1/8") will give you cleaner detail. But for most makers starting out, 1/4" basswood is the format that works across the most projects with the least fuss.
Your first order, kept simple: Get a pack of 20–30 basswood sheets in 1/4" (6mm). That's enough to learn your machine, ruin a few pieces without stress, and still have plenty left for your first real project. Once you've cut through half the pack without chasing settings the whole time, you're ready to add a sheet of Baltic birch. Don't buy cherry until you're making something you plan to sell.
Shop Basswood Sheets on AmazonFrequently Asked Questions
What is the best wood for laser engraving for beginners?
Basswood. It's soft, has a fine and even grain, contains almost no resin, and cuts cleanly with minimal char. It's forgiving of imperfect settings and inexpensive enough to experiment with freely. Once you understand how your laser behaves on basswood, switching to harder woods like cherry or Baltic birch becomes a simple adjustment rather than starting from scratch.
Why are my laser cut plywood edges burning black?
Almost always the wrong glue. Hardware store plywood is bonded with a weatherproof outdoor adhesive that fights the laser instead of burning through cleanly — the result is black, sooty edges and cuts that don't go all the way through. What you need is plywood specifically sold as laser-safe, laser-grade, or void-free — made with interior adhesive that the laser can burn through cleanly. If the supplier doesn't mention the glue type, assume it won't cut well.
Is MDF safe to laser cut?
Yes — but only if you have proper ventilation. The adhesives inside MDF release formaldehyde when burned — a chemical classified as a carcinogen, meaning it can cause cancer with repeated exposure. You need a fume extractor (ideally one with both a particle filter and an activated carbon layer to absorb gases), and you shouldn't sit next to the machine while it's running. In a well-ventilated workspace it cuts cleanly and consistently. In a small room with no extraction, skip it.
What wood gives the best contrast for laser engraving?
Cherry gives the best contrast for most projects — its warm reddish-brown base produces a deep, rich burn that looks premium. Walnut also engraves with strong contrast but requires more depth since the base wood is already very dark. For photo engraving, basswood or maple work best thanks to their fine, uniform grain. Balsa is light-colored and produces clearly visible dark engravings, but its fragility rules it out for finished pieces. MDF engraves consistently but looks flat — no grain means no visual depth.