Best Wood for Laser Engraving: What to Buy When You're Just Starting Out
One of the first questions people have when they get a laser engraver is: what material should I actually buy? Not in theory — right now, before the machine even arrives, what do I put in the cart?
The short answer is Baltic Birch plywood. But the real answer is a bit more nuanced, because what you're making matters. A sign isn't the same as an earring, a cutting board isn't the same as a keychain, and a beginner testing settings has different needs than someone ready to sell on Etsy. This guide runs through the most useful materials — what they're good for, what they're not, and where to get them — so you can stop second-guessing and start making.
Quick note: All the materials in this guide work with diode lasers (xTool, Sculpfun, Atomstack, etc.) and CO2 machines. Metal cutting is a different story — we cover that at the end.
1. Baltic Birch Plywood — Start Here
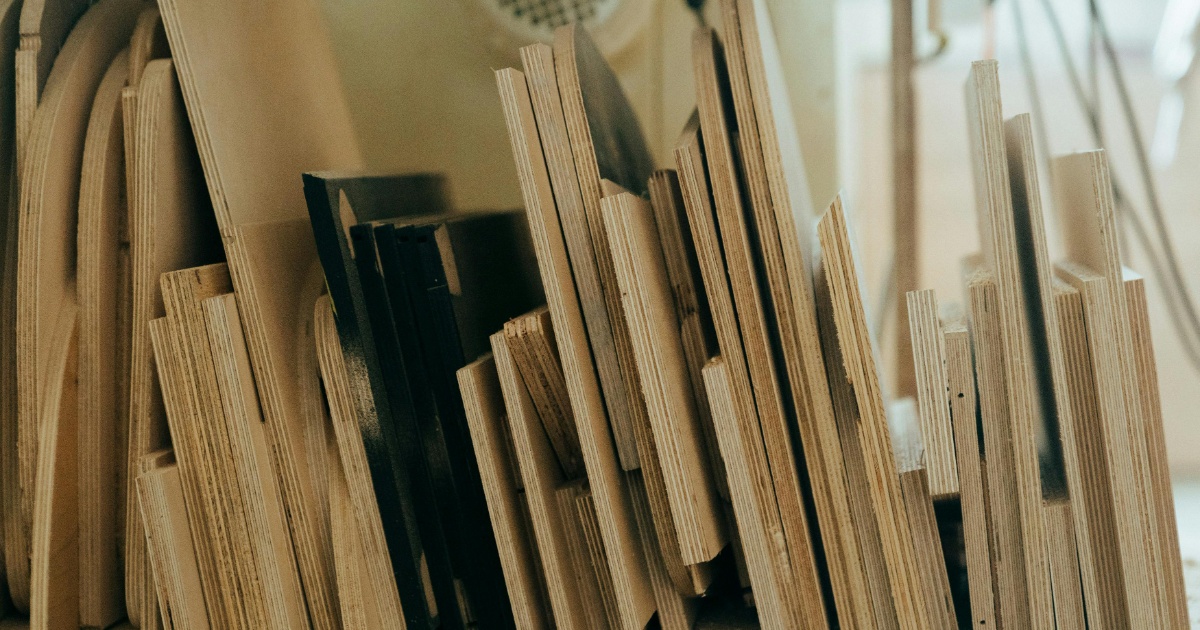
If you only buy one material to start with, make it Baltic Birch. It's the standard in the laser community for a reason — it engraves cleanly, cuts consistently, and the result looks like actual woodwork, not a craft project. The surface takes detail well, holds up to staining or painting, and the light color gives strong contrast against the burn.
The key word here is Baltic Birch, not just "birch plywood." Regular hardware store plywood has voids inside — air pockets between layers — and when your laser hits one, the cut becomes uneven or the piece falls apart mid-job. Baltic Birch is void-free, which means predictable results every time. Get 1/8" (3mm) to start. Thin enough to cut through, thick enough to hold shape.
- Signs and name boards
- Ornaments and gifts
- Earrings and jewelry
- Layered designs
- General testing
- Grain affects engraving tone
- Pricier than MDF
- Some smoke residue on edges
2. Basswood — The Cleanest Burn You'll Get
Basswood is what a lot of serious laser crafters quietly prefer over Baltic Birch — and the reason is simple: it's softer, lighter, and burns with almost no dark residue on the surface. When you cut basswood, the edges come out pale and clean. When you engrave it, the detail is sharp. There's less sanding, less masking tape, less cleanup.
The tradeoff is that softness cuts both ways. Basswood scratches more easily than plywood, so it's not great for anything that needs to take abuse. But for ornaments, earrings, fine detailed pieces, and anything decorative — basswood is often the better choice. It also paints and stains beautifully, which is useful if you're doing multi-step projects.
- Detailed decorative cuts
- Earrings and small jewelry
- Ornaments and keepsakes
- Pieces you'll paint or stain
- Softer — scratches easier
- Not ideal for cutting boards
- Can be harder to source locally
3. MDF — The Budget Workhorse
MDF (medium density fiberboard) doesn't look as impressive as real wood — the surface is flat, the edges turn dark after cutting, and it doesn't have any grain character. But those same properties make it extremely consistent. There are no knots, no grain variation, no surprises. What you set up, you get. Every time.
This makes MDF almost ideal for testing. Before you run a project on an expensive piece of Baltic Birch, run it on MDF first. Dial in your speed and power settings, check your design scale, make sure the cut goes all the way through. Once everything looks right, switch to the good material. It's the sheet you'll go through the most of — and the one you'll be most glad you had.
- Testing settings and designs
- Prototyping before final runs
- Flat signs painted after cutting
- Anything where wood look doesn't matter
- Strong smell — ventilate well
- Dark edges after cutting
- Not water resistant
- Heavier than real wood
Ventilation matters with MDF. The binder used in MDF contains formaldehyde, and cutting it releases fumes. Don't run it in an unventilated room. Open a window, use an exhaust fan, or run your laser with proper ventilation. This isn't optional.
4. Bamboo — A Special Case Worth Knowing
Bamboo isn't wood — it's technically a grass — but it engraves and cuts like a dense hardwood. The surface is tight and smooth, which means you need more laser power than you'd use on birch or basswood. When you get the settings right, the engraving contrast is excellent: the natural pale surface shows the burn very clearly.
Where bamboo really shines is for anything kitchen-related. Cutting boards, serving trays, charcuterie boards — bamboo holds up to washing and daily use far better than regular plywood. We used it in our Father's Day cutting board post, and it's genuinely one of those materials that elevates a project from craft to product. It just looks and feels premium in a way that softwood doesn't.
One thing to know: bamboo grain can be uneven, so test your speed and power before committing to a full design. And if you're selling finished products, make sure you're using food-safe bamboo boards — not random plywood painted to look like it.
For bamboo cutting boards, start at around 60% power / 400mm per minute and adjust from there. Too fast and the engraving is too light; too slow and you get excessive charring on the edges of each character.
5. Opaque Acrylic — Your First Step Into Non-Wood
Once you're comfortable with wood, acrylic is the natural next step — and it's the material that makes a lot of laser crafters stop undercharging for their work. Cut acrylic looks completely different from cut wood: the edges are polished, the cuts are precise, and the result looks like something from a store display, not a workshop.
Opaque acrylic (as opposed to clear or translucent) is the practical choice for most projects. Black with white core is the classic — when you engrave through the black surface layer, you expose bright white underneath. The contrast is sharp, the result is clean, and it works brilliantly for name signs, keychains, labels, and anything where text needs to pop.
Acrylic doesn't burn like wood — it vaporizes. This means very little residue and very consistent results. You will smell it while cutting, so ventilation still matters. But the cleanup is minimal compared to wood.
- Name signs and plaques
- Keychains and tags
- Event signage
- Wedding decor
- Fumes — always ventilate
- Don't use PVC-based acrylic (chlorine)
- Scratches easily before masking is removed
6. Anodized Aluminum — When You Want Metal Results
Here's the good news about metal: you don't need a fiber laser to engrave anodized aluminum. A standard diode laser can do it. The way it works is this — anodized aluminum has a color coating bonded to the surface, and the laser burns that coating off to reveal the bright silver metal underneath. The contrast is excellent, the edges are precise, and the result looks genuinely premium.
A multicolor variety pack is the best way to start. You get to see how different colors respond to your laser, which settings work best, and you can experiment with different project types without committing to a large order. These work great for keychains, small plates, ornaments, luggage tags, and any small personalized item. They're also one of the more popular Etsy sellers in the laser niche — buyers love the metal look for gifts.
Important: this only works with anodized aluminum. Raw aluminum or other metals without an anodized coating won't react the same way with a diode or CO2 laser.
- Keychains and small tags
- Personalized gifts with metal look
- Luggage tags and bag labels
- Small ornaments
- Only works on anodized surface
- Smaller size limits project types
- Results vary by laser wattage
What About Real Metal — Steel, Copper, Raw Aluminum?
This is probably the most common question beginners have after they've been at it for a few weeks. And the honest answer is: your diode laser can't cut raw metal. A CO2 laser can't either. To cut steel, copper, or raw aluminum you need a fiber laser — and fiber lasers for hobbyists start at around $1,500 to $2,000 for entry-level machines, more for anything serious.
That said, you can mark bare metal with a standard laser using a coating product like Cermark or LaserBond. You spray or brush it onto the metal surface, run the laser over it, and the coating bonds permanently where the laser hits. Wipe off the rest and you're left with a dark, durable mark. It's not cheap — a can of Cermark runs around $50 — but it works and the results look professional.
For most people starting out though, the real question is whether metal marking is actually necessary for what you're trying to make. Nine times out of ten, anodized aluminum or even stainless steel mugs with the right coating will get you the look you're after without the cost of a fiber machine. Save fiber for later, when you know exactly what projects will use it.
Bottom line: Don't buy a fiber laser before you've outgrown your first machine. Get good on wood and acrylic first — that's where 90% of beginner Etsy income comes from anyway.
Where to Start If You're Completely New
If you've just ordered a laser or you're about to — buy a pack of Baltic Birch sheets and a pack of MDF. That covers you for testing and for making real projects. Once you've run a few designs and figured out your settings, add basswood for detailed cuts and acrylic when you want to level up the finished look.
One afternoon of material testing — running the same design at different speeds and power levels across different materials — will teach you more than hours of reading settings guides. You'll feel the difference between a clean cut and a scorched one. You'll see how grain direction affects engraving tone. And you'll actually know what your machine can do instead of just guessing.
Start simple. Buy the materials. Make something.
Already have your materials sorted? Check out our Father's Day Cutting Board guide or 7 Boho Earring Designs for project ideas that work great with these materials.